Recently, I have shared lot of posts regarding how I minimize printing time and maximize model production with my Formlabs 3D printer. The best part about having a laser-SLA printer like Form2, is that build platforms are really large! Most DLP printers, like EnvisionTEC Vida or Whipmix Asiga have much smaller plates where printing can occur, so they HAVE to build vertically.
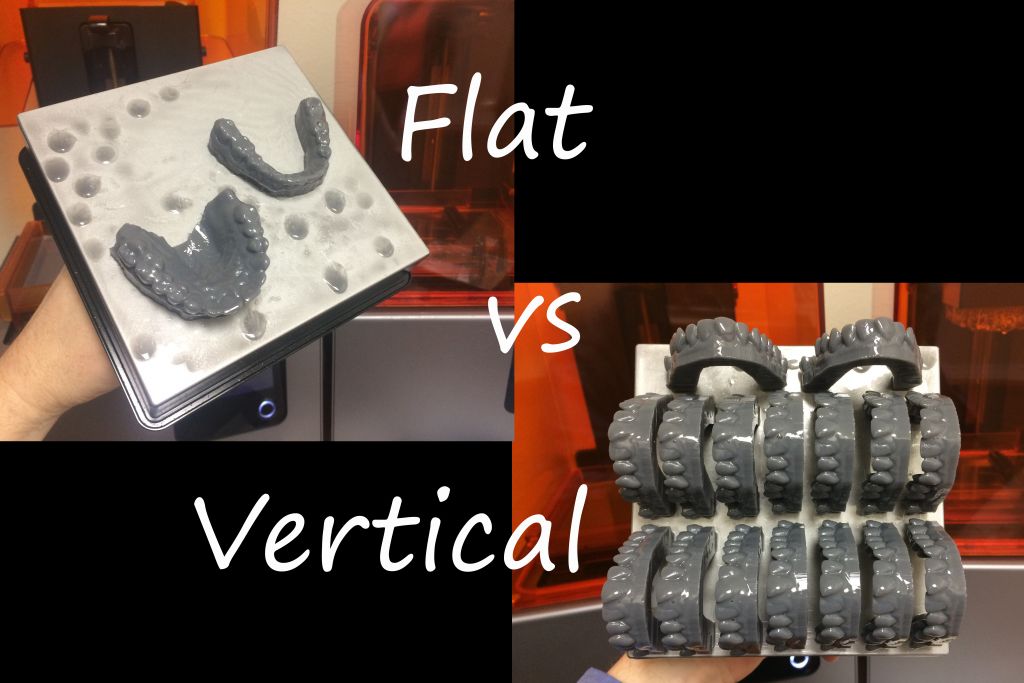
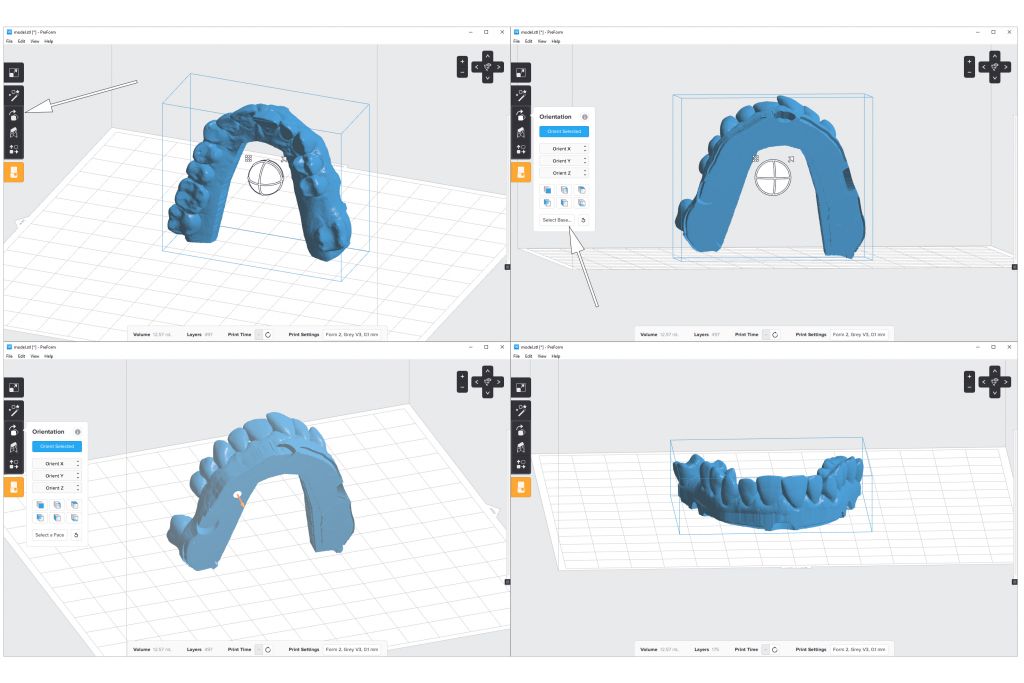
The real question comes up… “what should I do to print effectively and predictably?” The short answer is: print flat or horizontally! Prints come out very smooth, clean, and are very effective for dentistry. Let’s start with importing an STL file into your 3D printer software… in this example, we are using Preform software from Formlabs. First thing I see is that my model is oriented vertically by default (this is different for each model) so I want to go ahead and move the model until it’s flat with the printer base. The best way to do that with dental models is to click on the “orientation” button on the left side of the screen and then it will bring up a dialog. In the dialog box, there is a button that says “select base”… click that. Then click the bottom of the dental model and the software will put the flat side down!
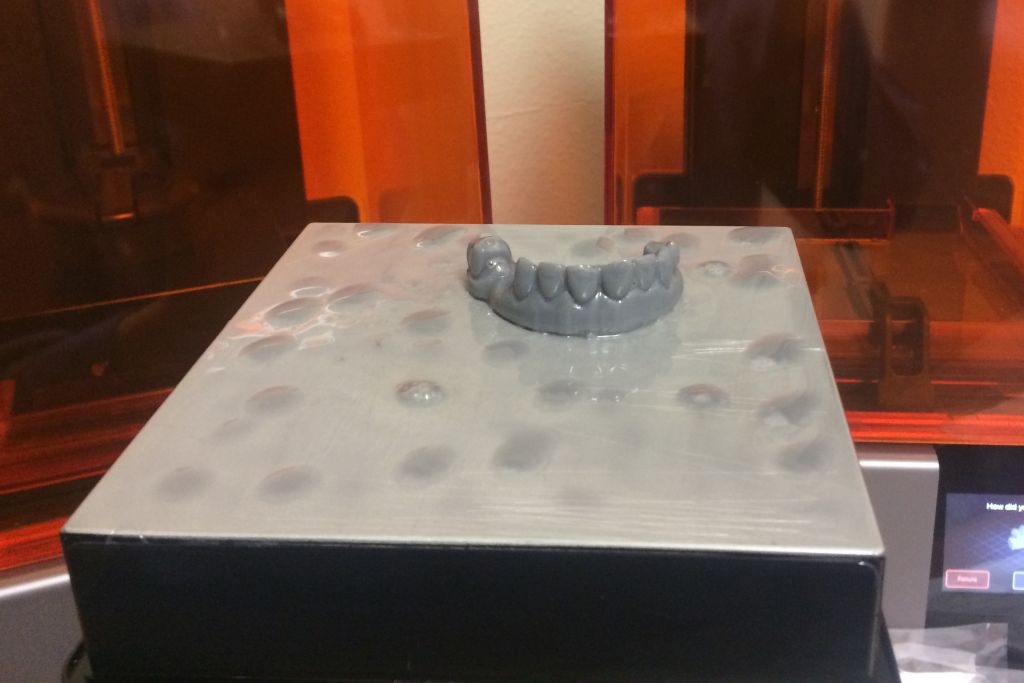 Once flat, it’s easy to print the model so it comes out nice and flat with the occlusal surface facing down (while printing) or up (when looking at it in your hand). This is my everyday preferred method of printing models as most of the time, I’m printing 4-6 models per day and with my 2 printers in my office running almost 24/7, it makes for very straight forward editing of models and predictable clean-up of my models.
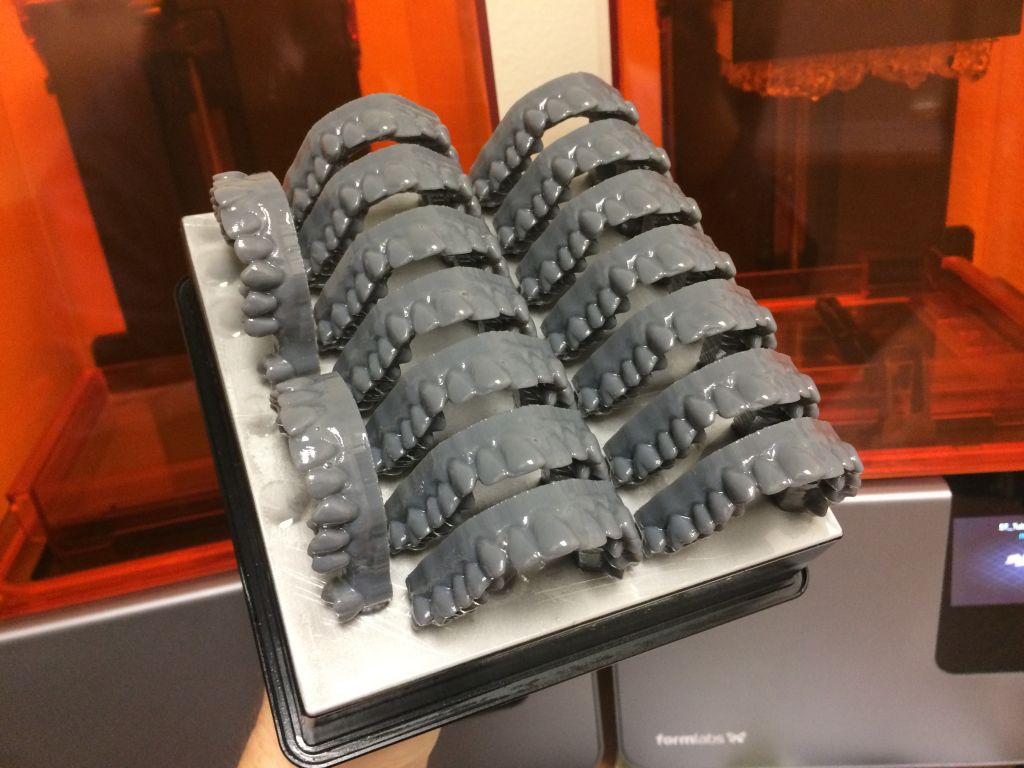
If I were printing more models than that, such as what is done in a dental laboratory, I would need to know how to orient models vertically. The most important thing, however, is to ensure that your base is perfectly flat prior to printing, especially when printing vertically. Using similar steps as what I have shown above, it sound easy to just move the model until it’s vertical in the software, but most 3D printing software wants to set exact boundaries of how things should print.
To get prints to be vertical, we need to use Meshmixer software and create flat portions of the dental model. It can be a little tricky to do that, so let’s just show how it’s done with a video:
Now that we have put our vertical models into Preform software, we can now easily print vertically. Clean-up is a snap!